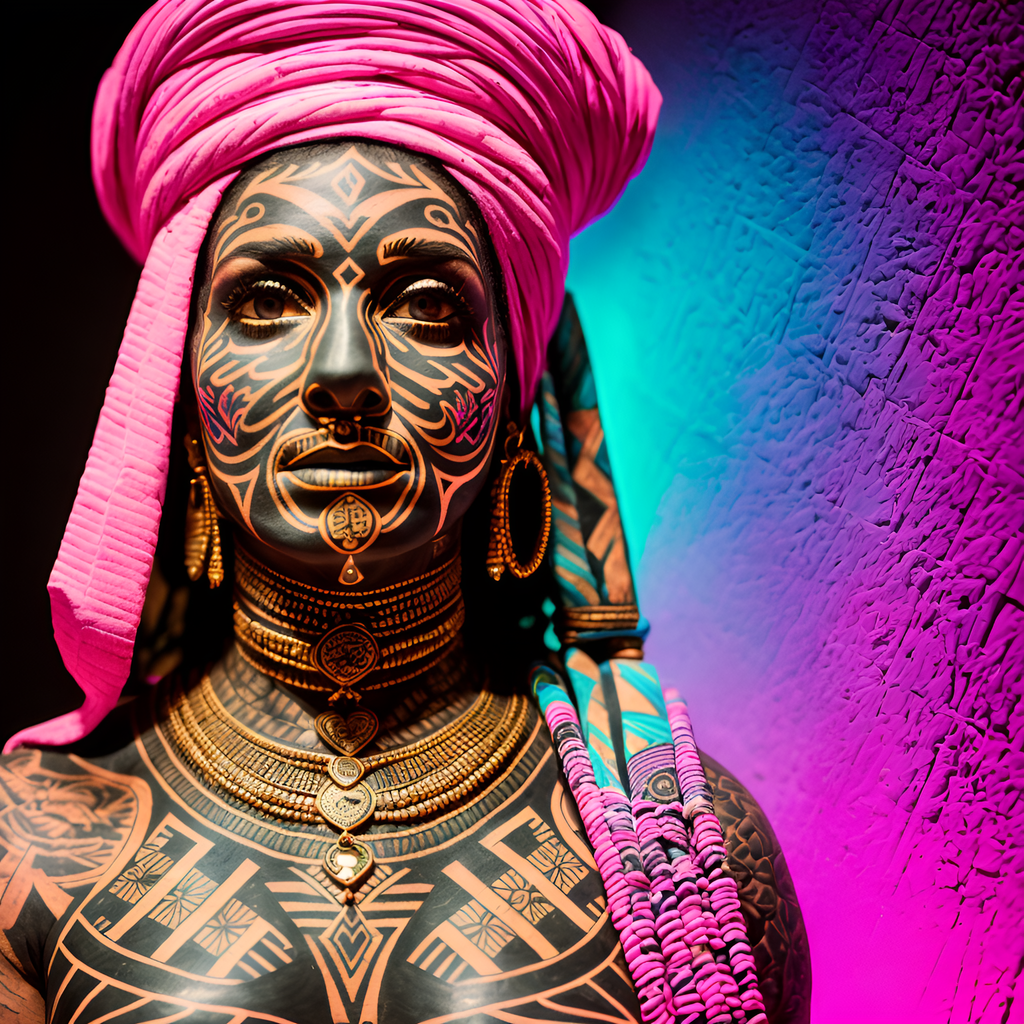
Getting Started with Digital Art Design for Tattoo Artists

Digital art design for tattoos offers a range of benefits, including the ability to easily edit and manipulate designs and create more intricate and detailed designs. By following the steps and tips in this guide, tattoo artists can optimize their design process and create effective tattoo designs that translate well from digital format to skin. Remember to familiarize yourself with your equipment and software, gather inspiration, sketch out ideas, refine your design, get feedback, create a stencil, and tattoo the design onto the skin. You can become a skilled digital art designer for tattoos with practice and patience.

What you need
To get started with the digital art design for tattoos, you will need the following equipment and software:
- Computer or laptop: You will need a computer or laptop with a good graphics card and enough processing power to run the design software smoothly.
- Drawing tablet: A drawing tablet is an essential tool for digital art design. It allows you to draw and create designs directly on the screen, giving you more control and precision.
- Design software: There are several design software options available for digital art design, including Adobe Photoshop, Procreate, and Clip Studio Paint. Choose a software that you are comfortable with and that meets your design needs.
- Printer and paper: You will need a printer and paper to print out your designs and create stencils for the tattooing process.
- Internet connection: An internet connection is necessary for accessing design resources, tutorials, and inspiration.
Once you have all the necessary equipment and software, you can start exploring the world of digital art design for tattoos.
Choosing a tablet
When choosing a digital drawing tablet for tattoo design, there are several factors to consider:
- Size: Consider the size of the tablet and how it will fit into your workspace. Larger tablets offer more drawing space but may be less portable.
- Pressure sensitivity: Look for a tablet with high pressure sensitivity, as this will allow you to create more precise and detailed designs.
- Compatibility: Ensure that the tablet is compatible with your chosen design software.
- Price: Digital drawing tablets range in price, so consider your budget when making a decision.
- Brand and reputation: Research different brands and read reviews to find a tablet with a good reputation and quality.
Some popular digital drawing tablets for tattoo design include the Wacom Intuos Pro, Huion Kamvas Pro, and XP-Pen Artist Pro.
Exploring the digital world
Before diving into digital art design for tattoos, it is important to familiarize yourself with the design software you will be using. Take some time to explore the software and its features, watching tutorials and reading guides to understand how to use it effectively.
Some key features to look for in design software for tattoo design include:
- Layers: The ability to work with layers allows you to easily edit and manipulate different elements of your design without affecting the rest of the design.
- Brushes: Look for a software with a variety of brush options, including different shapes, sizes, and textures. This will allow you to create more detailed and intricate designs.
- Color options: Ensure that the software has a wide range of color options and the ability to create custom color palettes.
- Export options: Look for a software that allows you to easily export your design in a format that is suitable for printing and creating stencils.
Some popular design software options for tattoo design include Adobe Photoshop, Procreate, and Clip Studio Paint.
Design Process
Once you are familiar with your equipment and software, it's time to start the design process. Here are some steps to follow:
- Gather inspiration: Look for inspiration from a variety of sources, including other tattoo designs, artwork, and photos. Create a mood board or folder to keep all your inspiration in one place.
- Sketch out ideas: Use your drawing tablet and software to sketch out rough ideas for your tattoo design. Don't worry about making it perfect at this stage – focus on getting your ideas down on paper.
- Refine your design: Once you have some rough sketches, start refining your design. Use layers to separate different elements of your design and experiment with different brushes and colors.
- Get feedback: Show your design to colleagues or friends to get feedback and make any necessary adjustments.
- Create a stencil: Once your design is finalized, create a stencil using your printer and paper. This will be used as a guide for the tattooing process.
- Transfer the stencil: Transfer the stencil onto the skin using a transfer paper and stencil application gel.
- Tattoo the design: Use your tattoo machine and ink to tattoo the design onto the skin, following the stencil as a guide.
Embracing digital art design for tattoos opens up a world of possibilities for tattoo artists. With the ability to easily edit and manipulate designs, create intricate details, and explore a wide range of inspiration, digital tools enhance the creative process and translate well from screen to skin. By following the steps and tips outlined in this guide, tattoo artists can optimize their design process and unlock their full potential as skilled digital art designers for tattoos.
Remember, it all starts with having the right equipment and software—a computer or laptop with sufficient processing power, a drawing tablet with high pressure sensitivity, and design software that suits your preferences and needs. Take the time to familiarize yourself with the software, exploring its features and capabilities through tutorials and guides. This will enable you to harness the power of layers, brushes, color options, and export functionalities to create stunning tattoo designs.
The design process itself involves gathering inspiration from various sources, sketching out rough ideas, refining and perfecting the design, seeking feedback from trusted individuals, and ultimately creating a stencil to guide the tattooing process. With the final stencil in hand, it's time to bring your design to life on the skin using a tattoo machine and ink.
While the digital realm offers immense opportunities, don't forget to continue honing your traditional tattooing skills and techniques. The fusion of digital art design and traditional tattooing can result in truly remarkable creations.
So, embrace the digital era, equip yourself with the necessary tools, and embark on your journey as a skilled digital art designer for tattoos. With practice, patience, and a commitment to mastering your craft, you'll be able to push the boundaries of tattoo artistry and create captivating designs that leave a lasting impression.
Now, go forth and let your creativity soar on both the digital canvas and the skin.
Happy designing!


